Simple, Quick, and Professional Annotated Screenshots in macOS
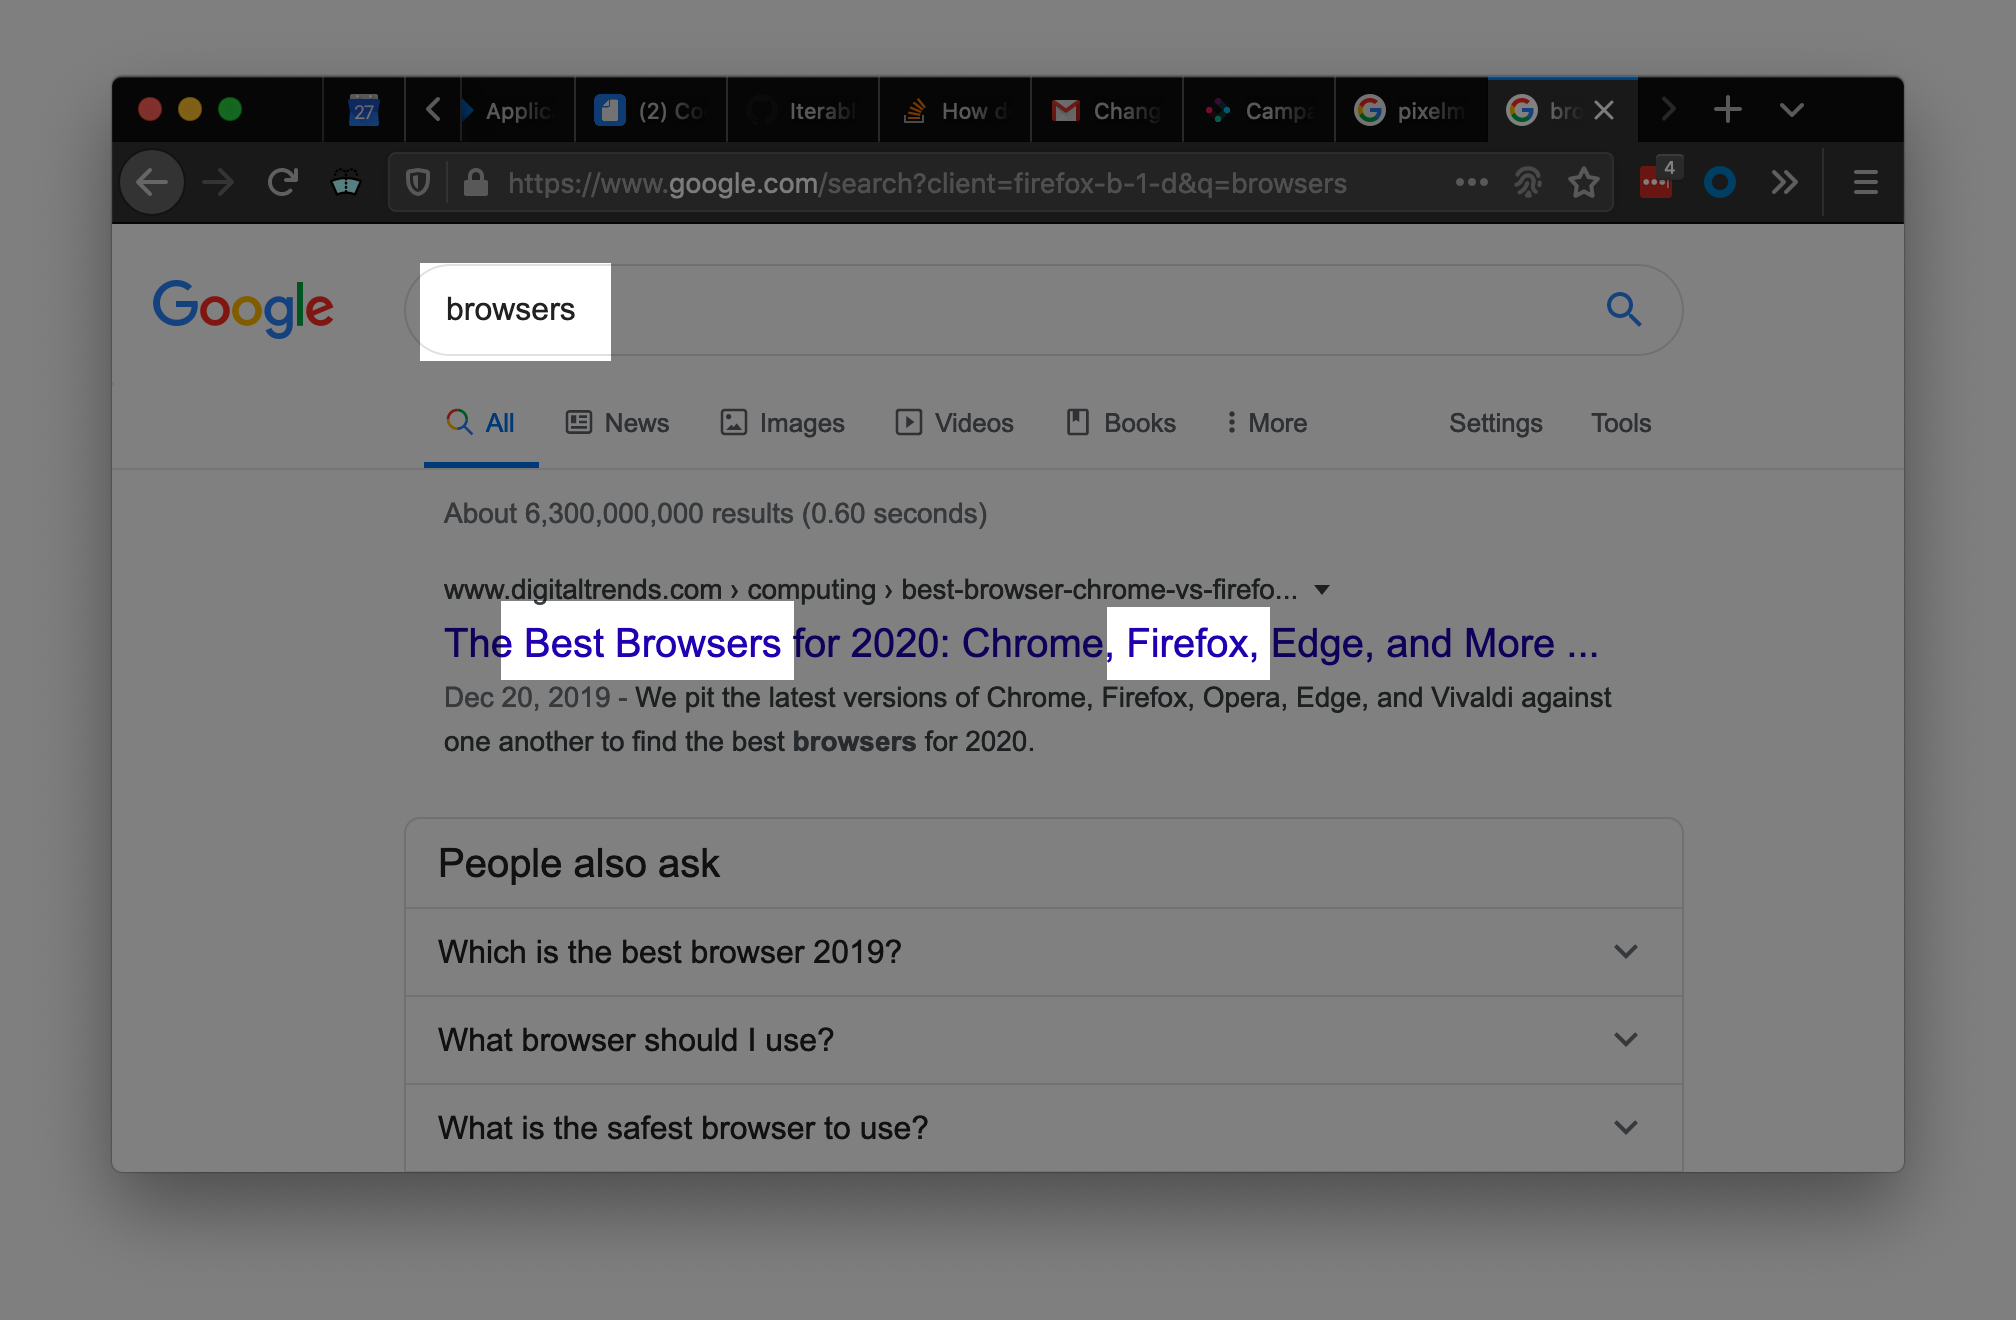
Annotating screenshots like this immediately draws attention to the object of interest in a professional manner and seriously levels up what is today becoming a vital communication skill.
Although this guide may make the process appear long, with practice it can take less than 15 seconds from start to finish (yes, I timed it) to add one of these annotations to any given screenshot.
Make The Screenshot
⌃⇧⌘+4 will turn the cursor into a cross-hair and allow you to visually select a rectangle on the screen that you want to grab. This is what I recommend, but omitting the ⌃ key will output the screenshot to file.
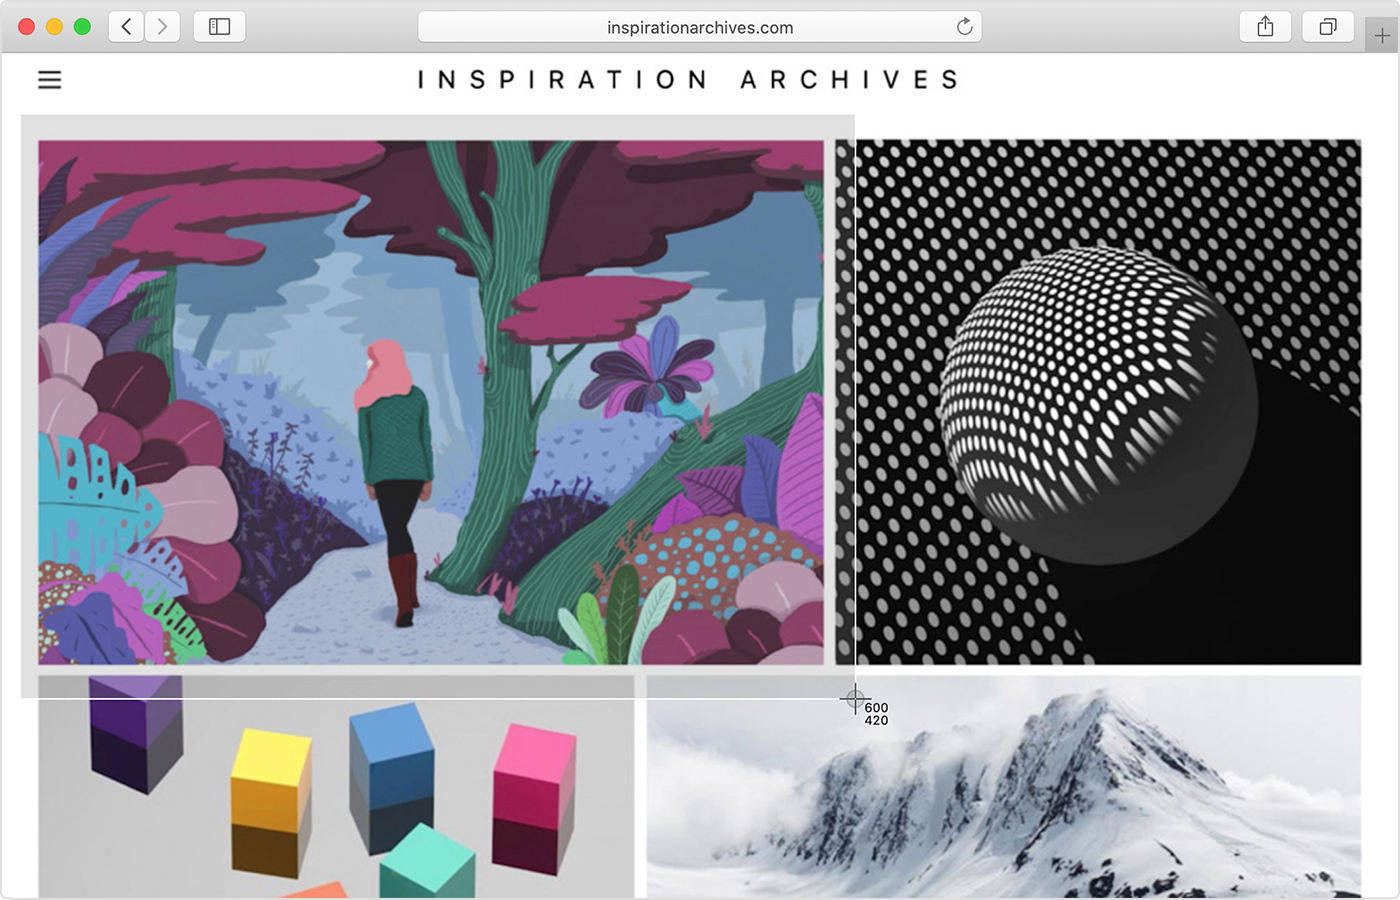
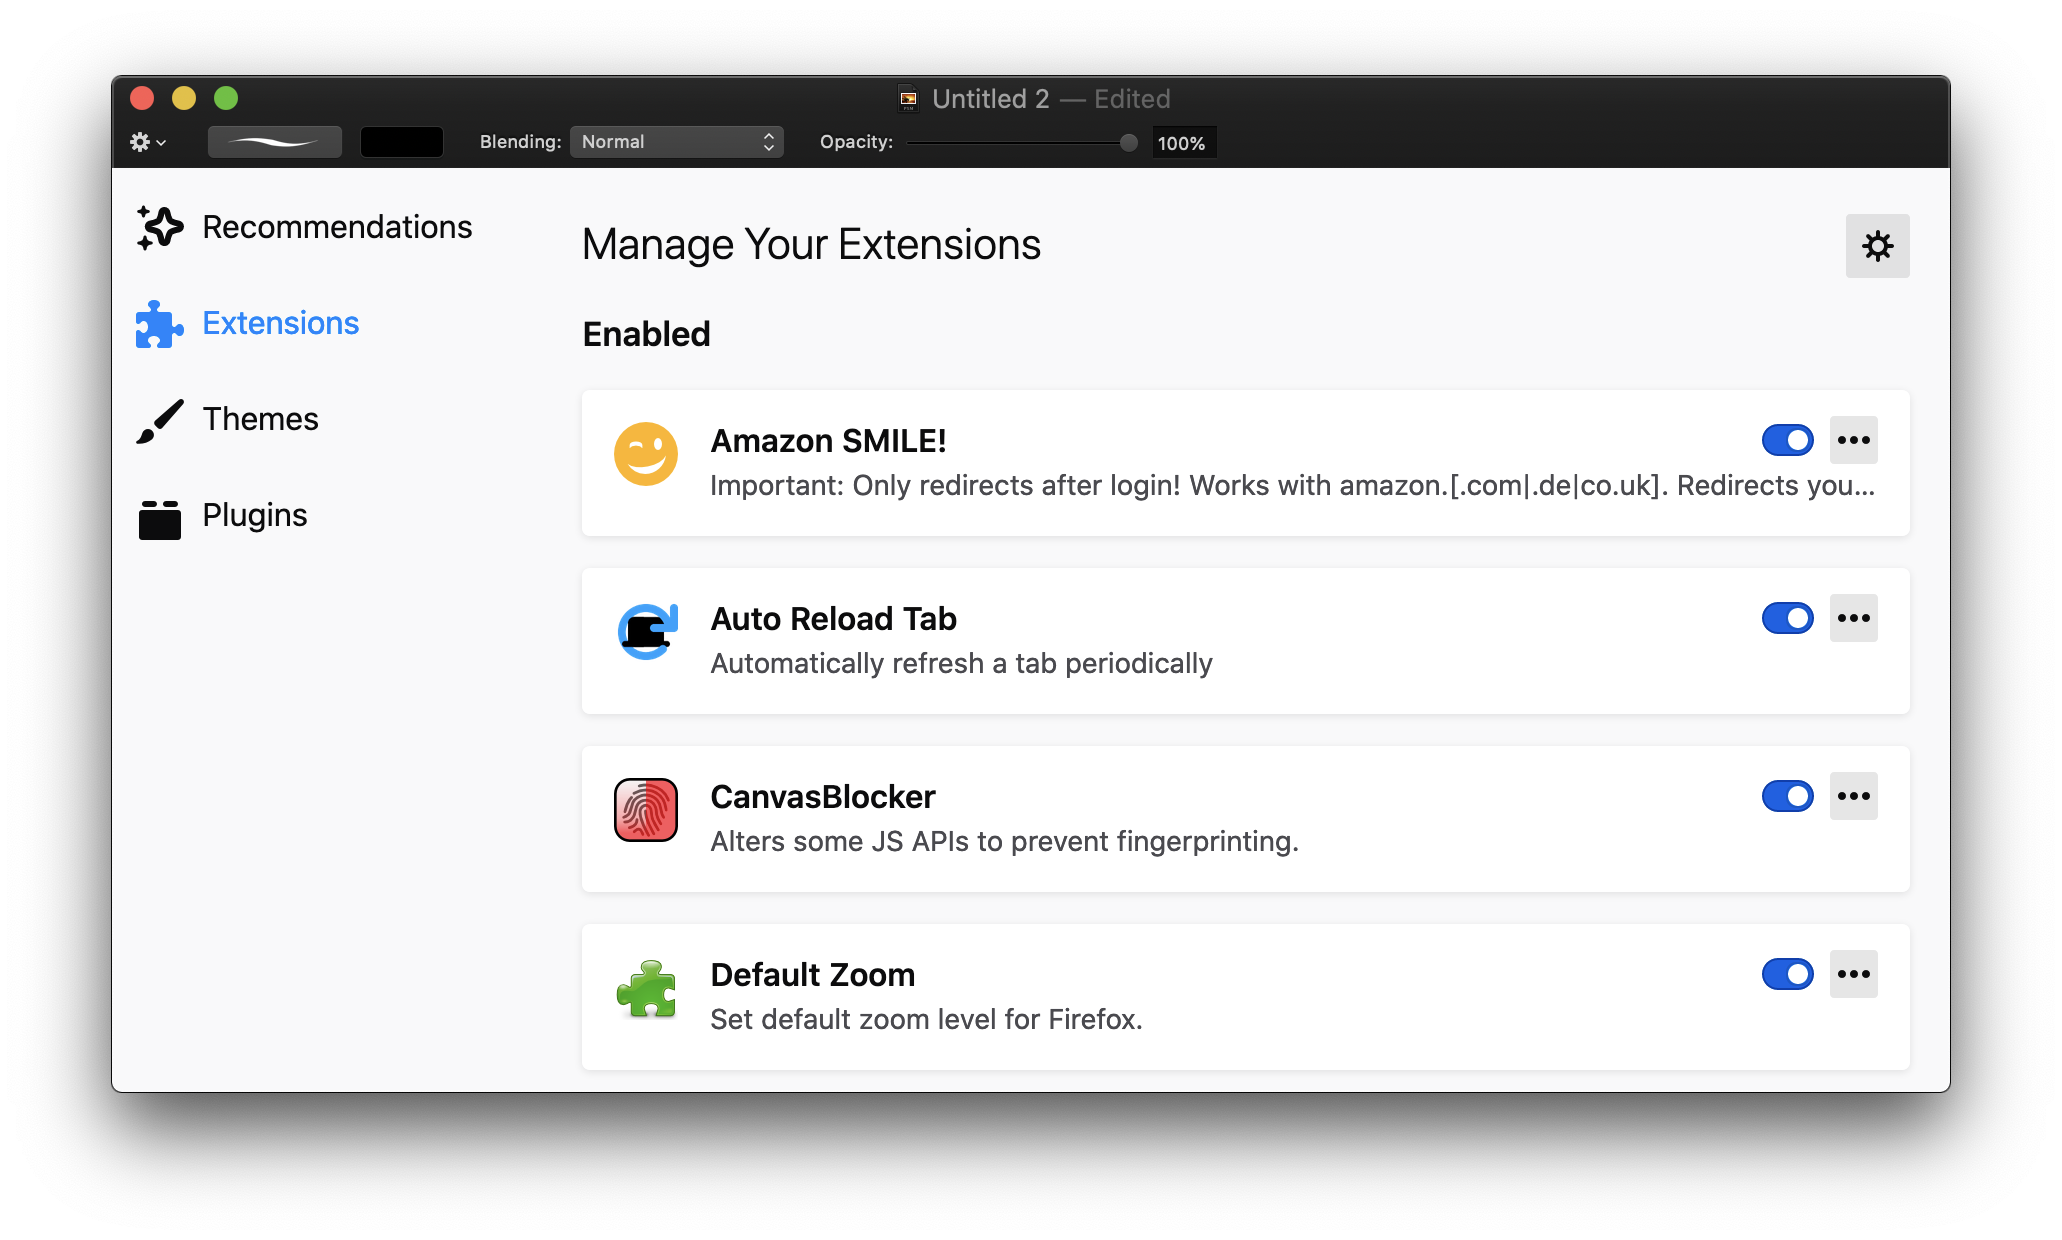
Pro tip: If you want to capture the entire window, then hit the space bar and click once on the window you want. MacOS will even add a pretty drop shadow, see the very next image for an example.
Open It In Your Editor
Open your favorite photo editor. Most Photoshop alternatives have the functionality you need. I personally recommend Pixelmator, a Photoshop-like app made especially for macOS that does nearly everything Photoshop does, but for only $40 and none of Adobe’s hostile annual licensing nonsense.
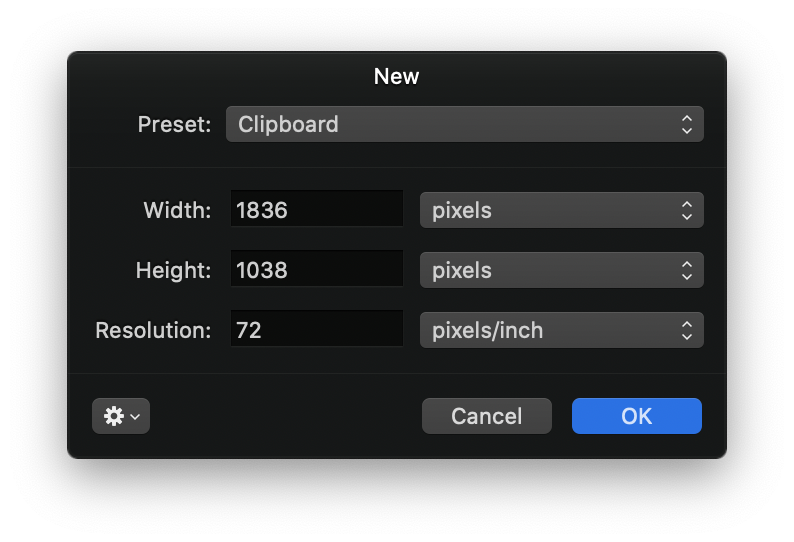
⌘+N creates a new image to edit with and Pixelmator will conveniently size it the exact same dimensions as the image in the clipboard.
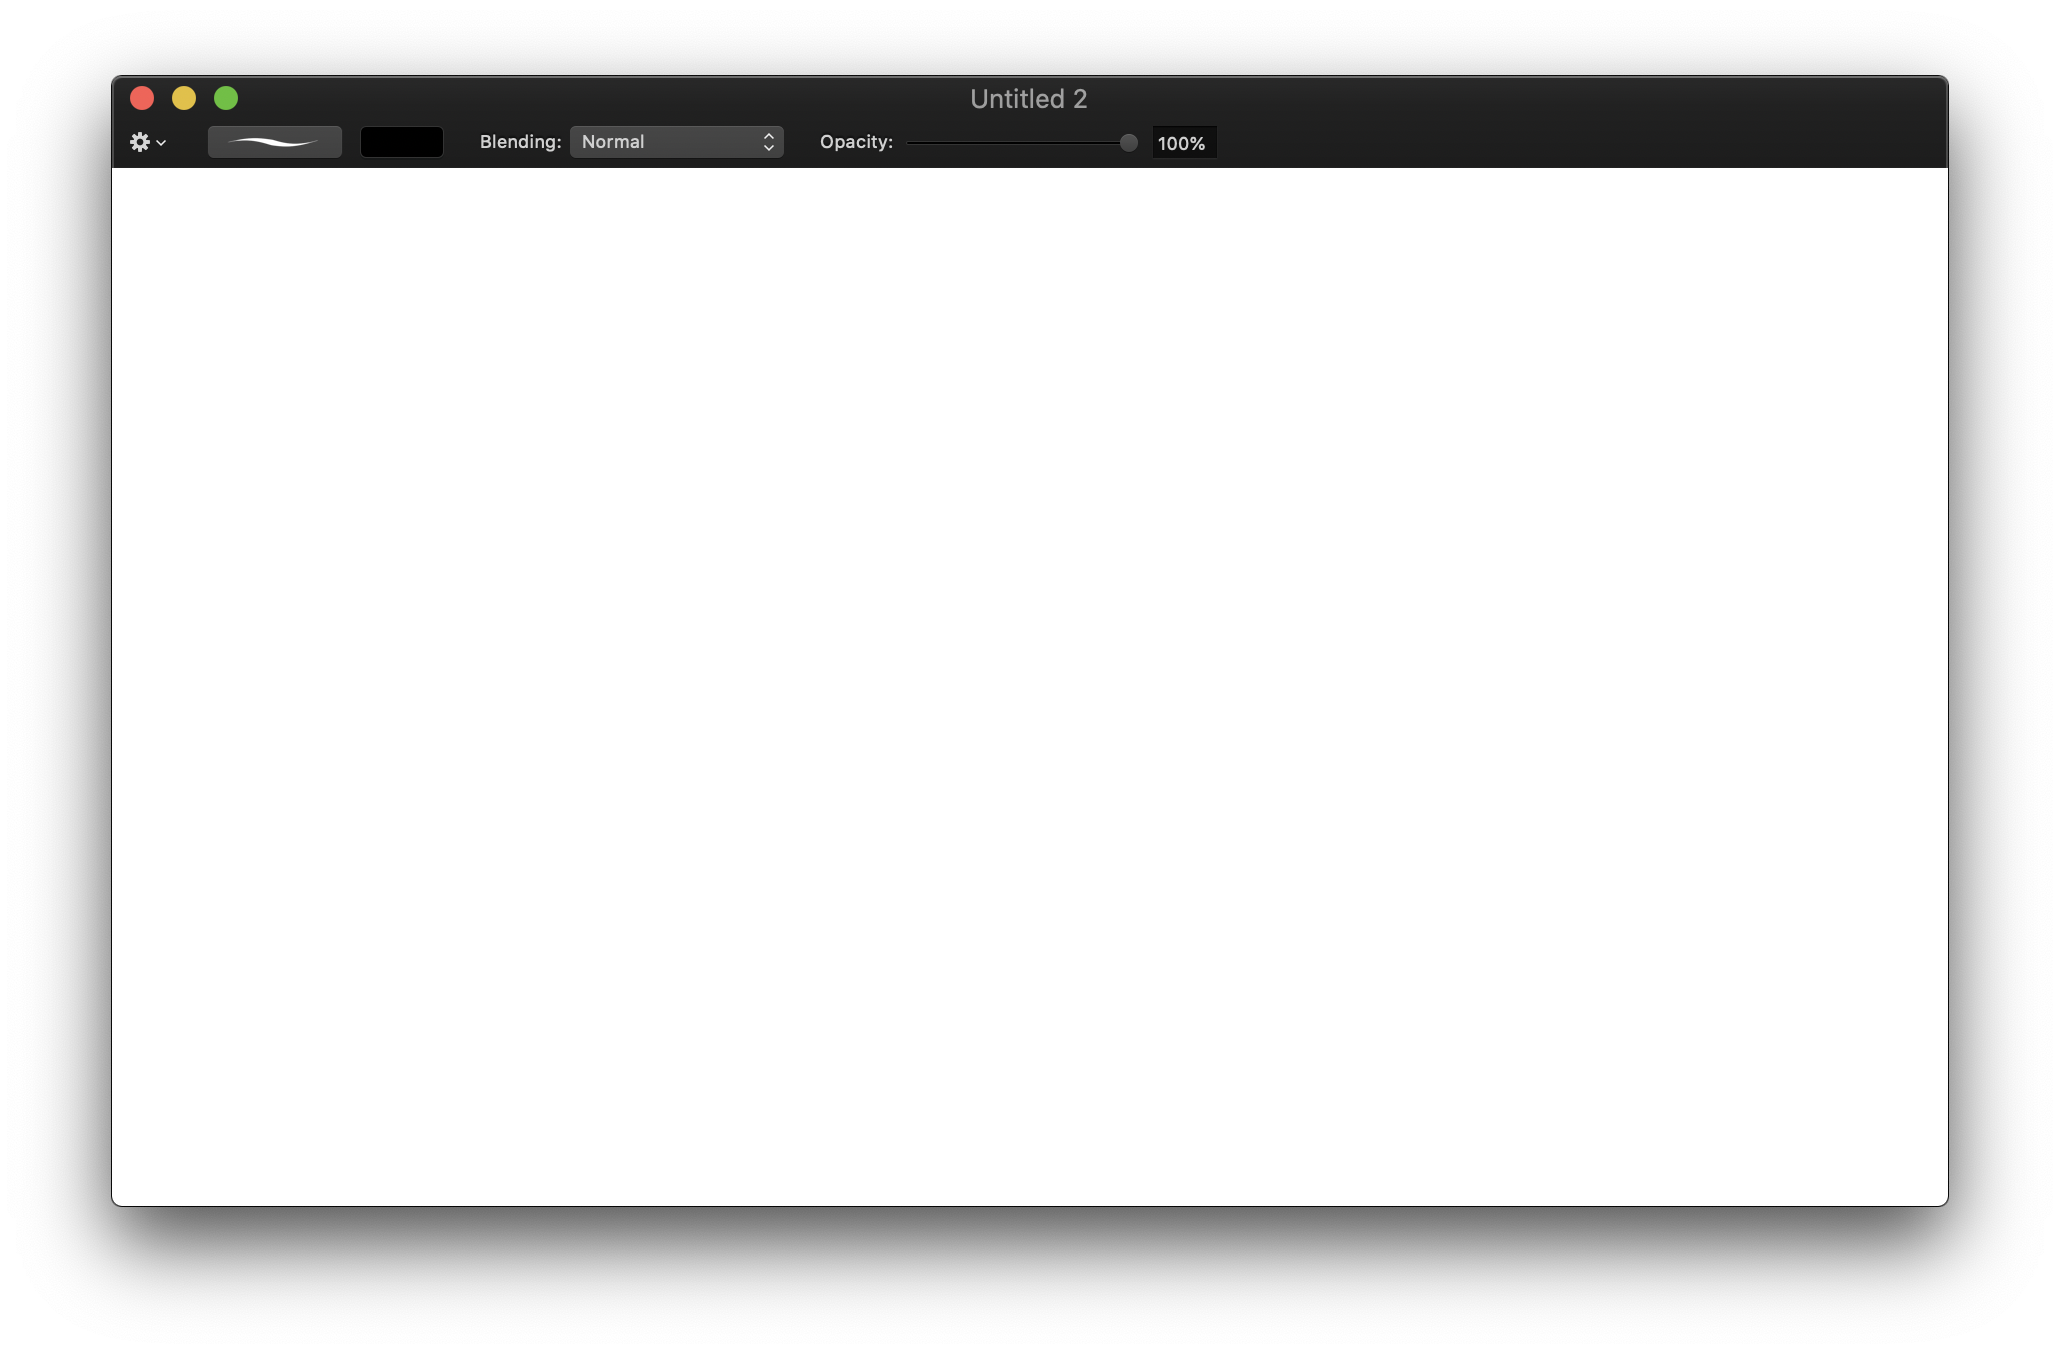
⌘+V to paste the image in
Make Your Selection
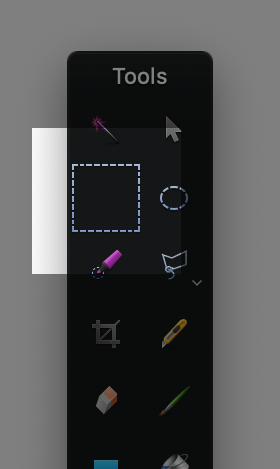
Use the Rectangular Marquee Tool (keyboard shortcut M) to select the part of the screenshot you want to highlight.
Tip: You can add multiple rectangles by holding ⇧ on subsequent selections
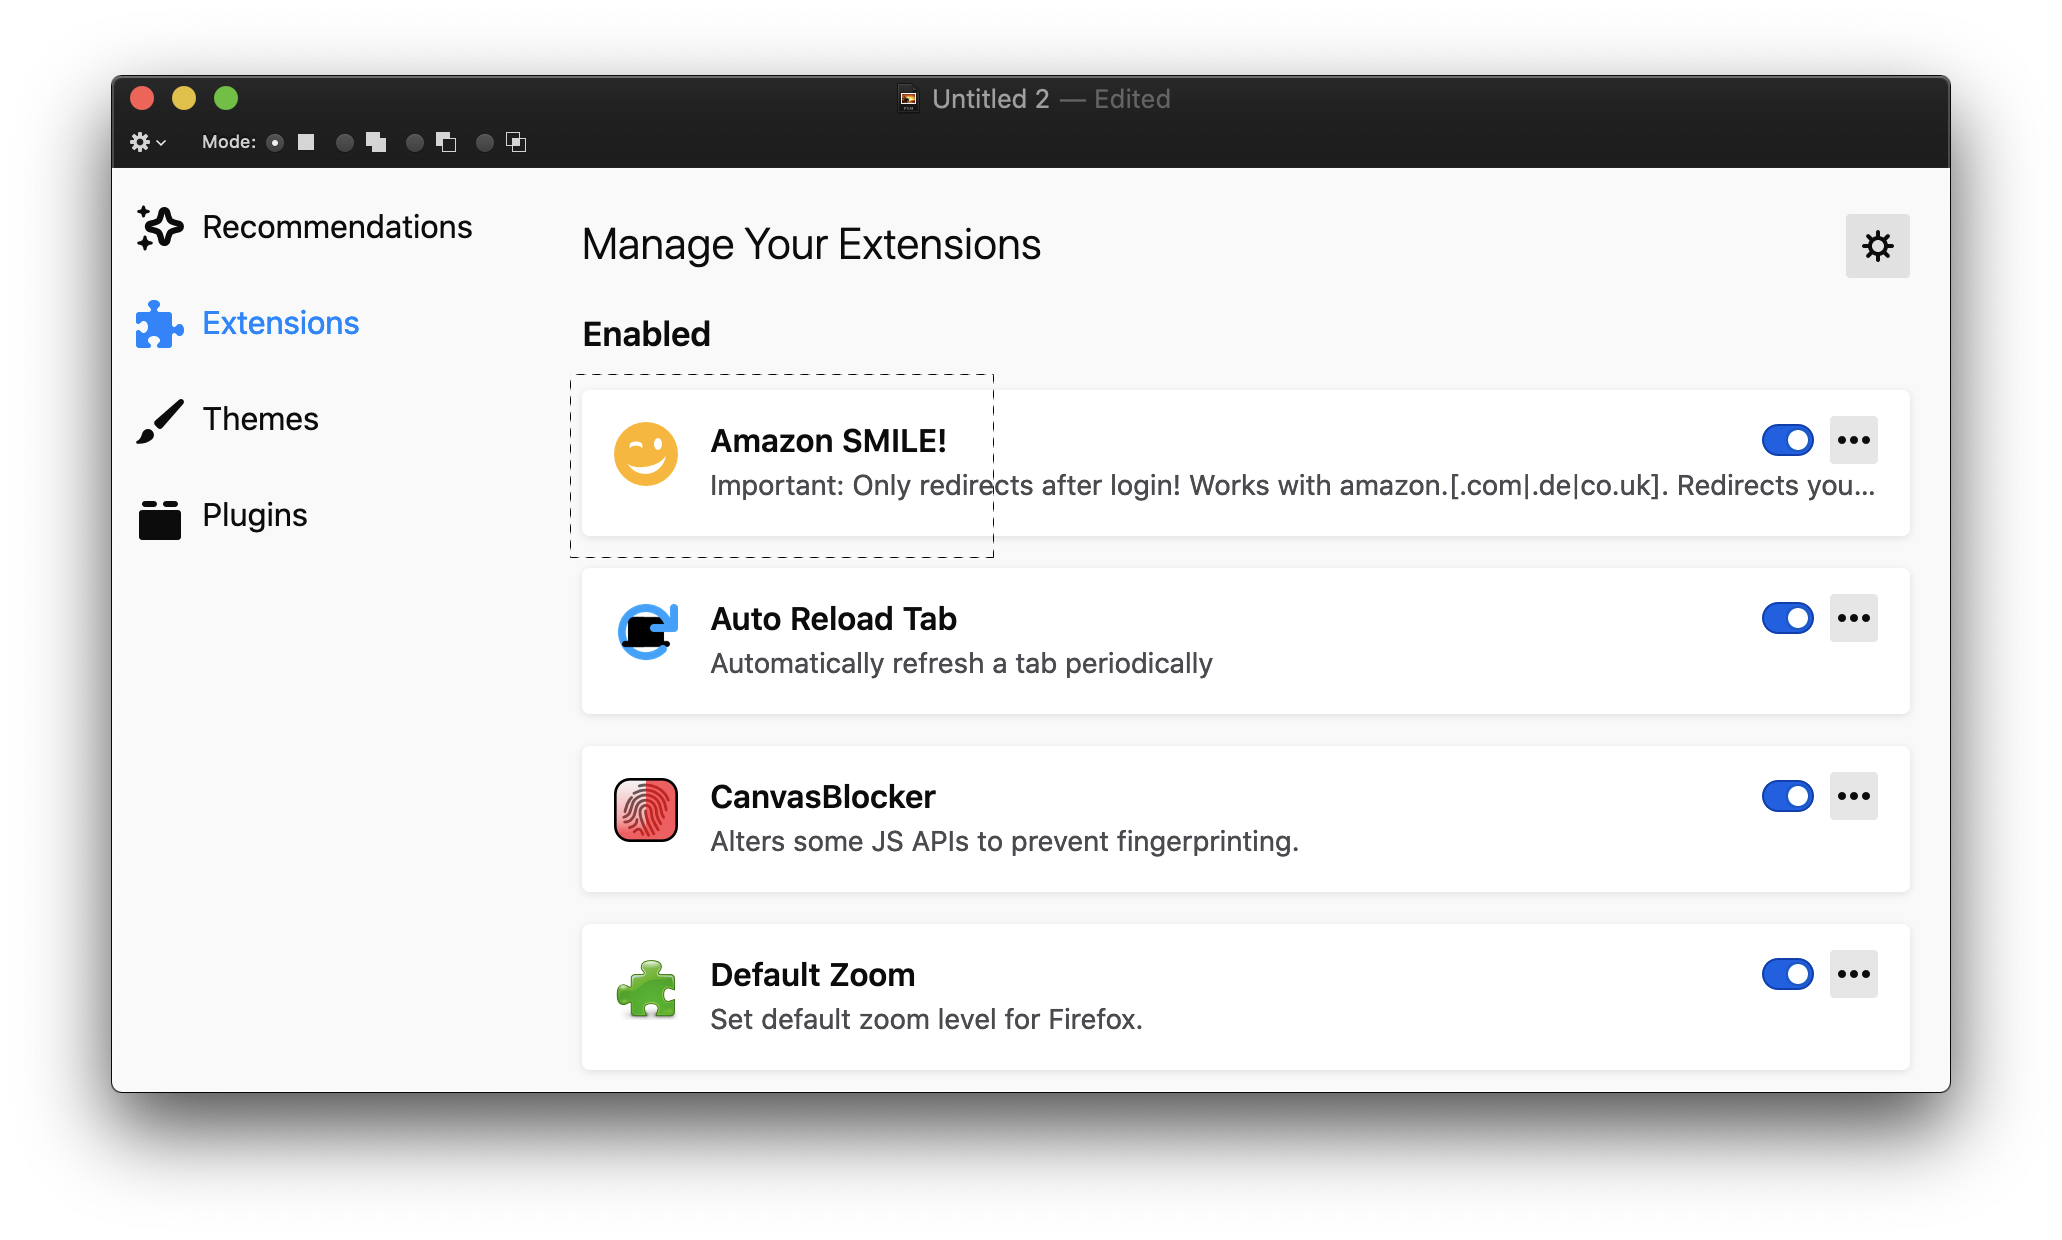
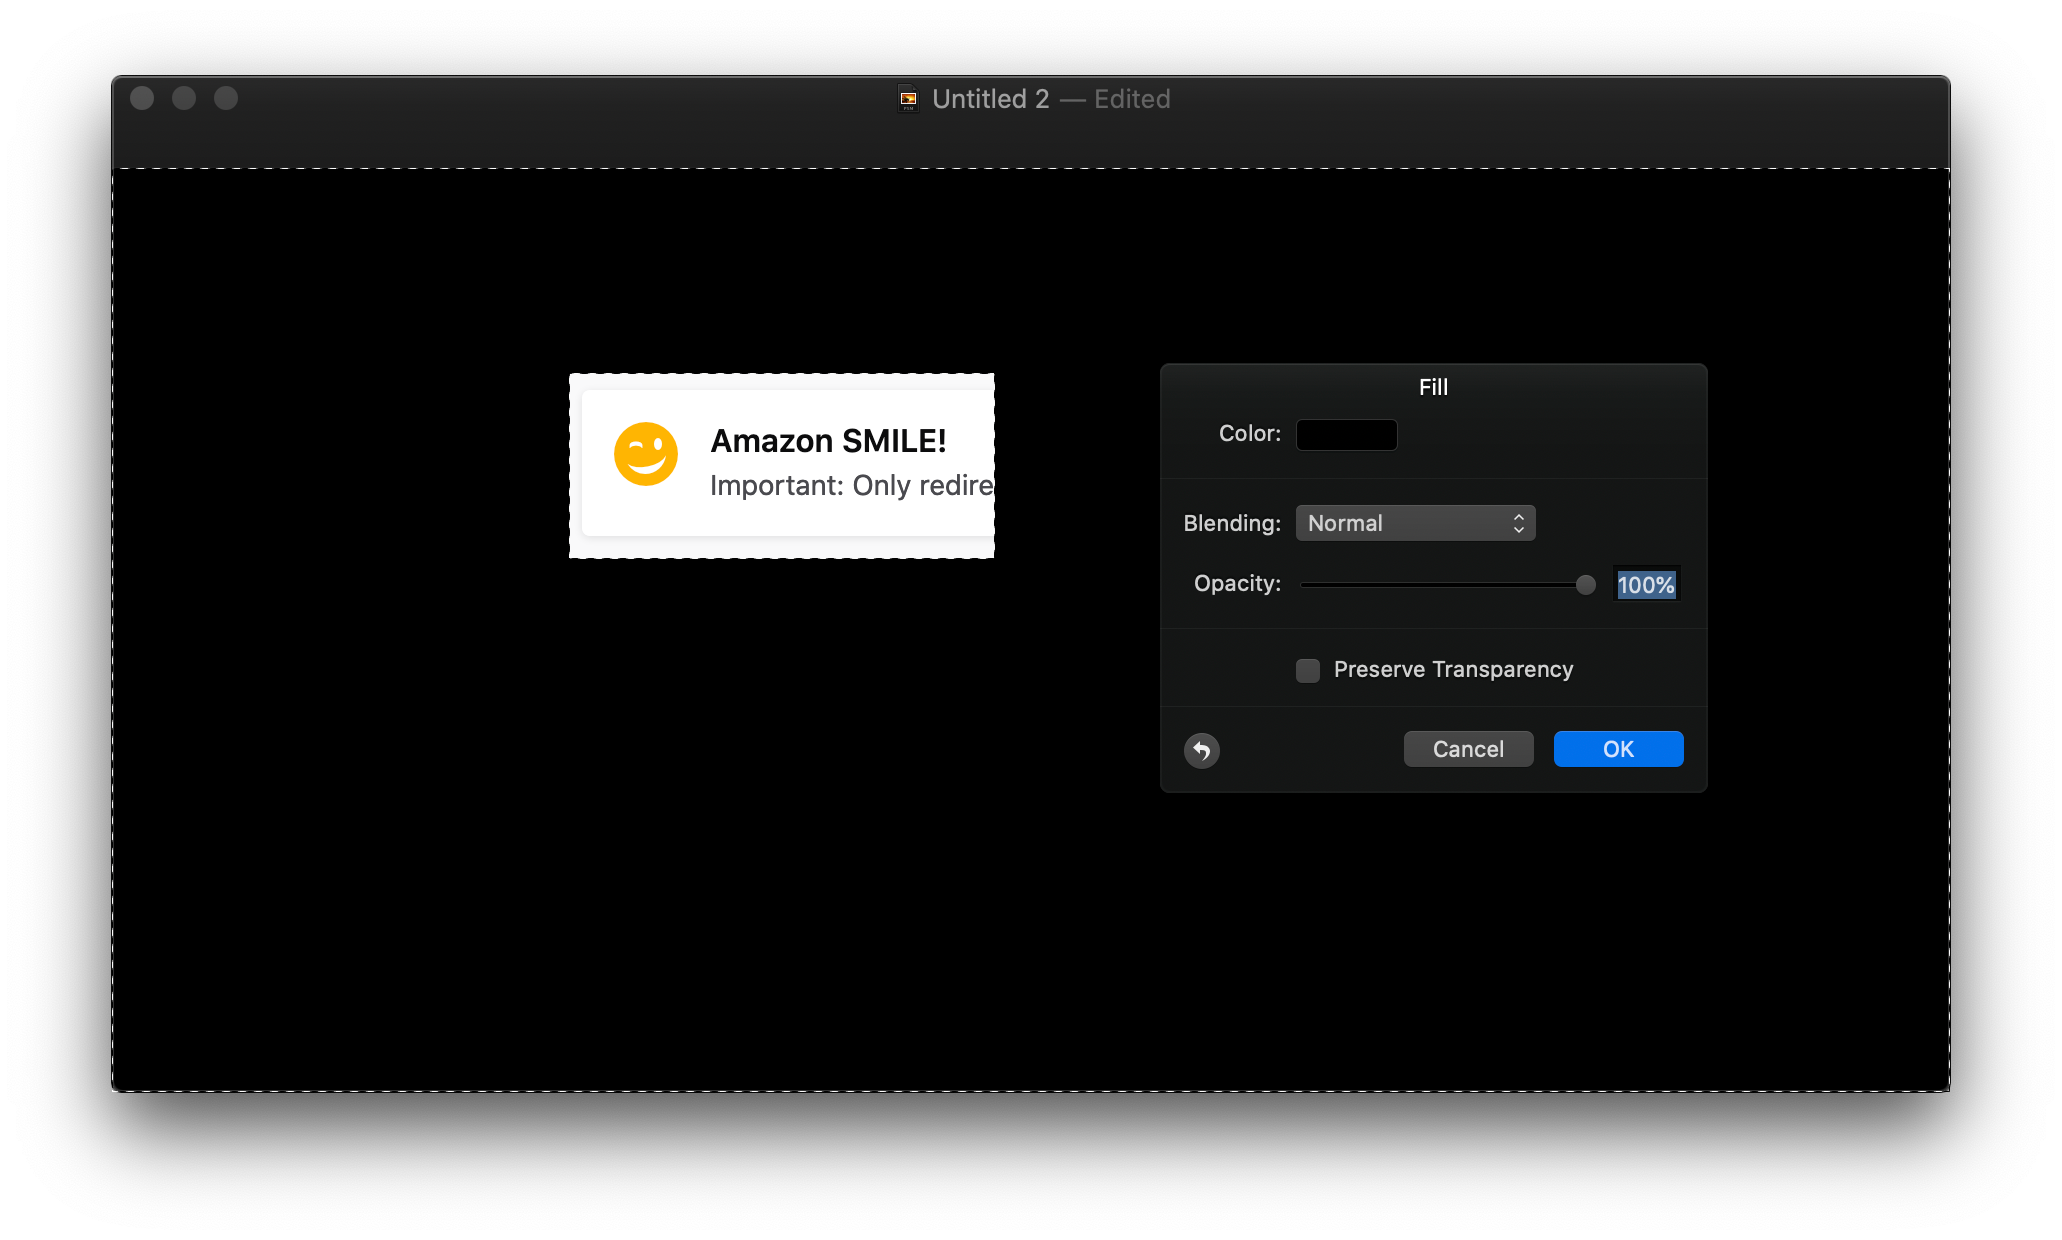
⇧⌘+I to invert the selection. This will allow you to fill in everything except what you selected.
Watch for the dashed lines crawling around the border of the image to know you’ve successfully inverted the selection.
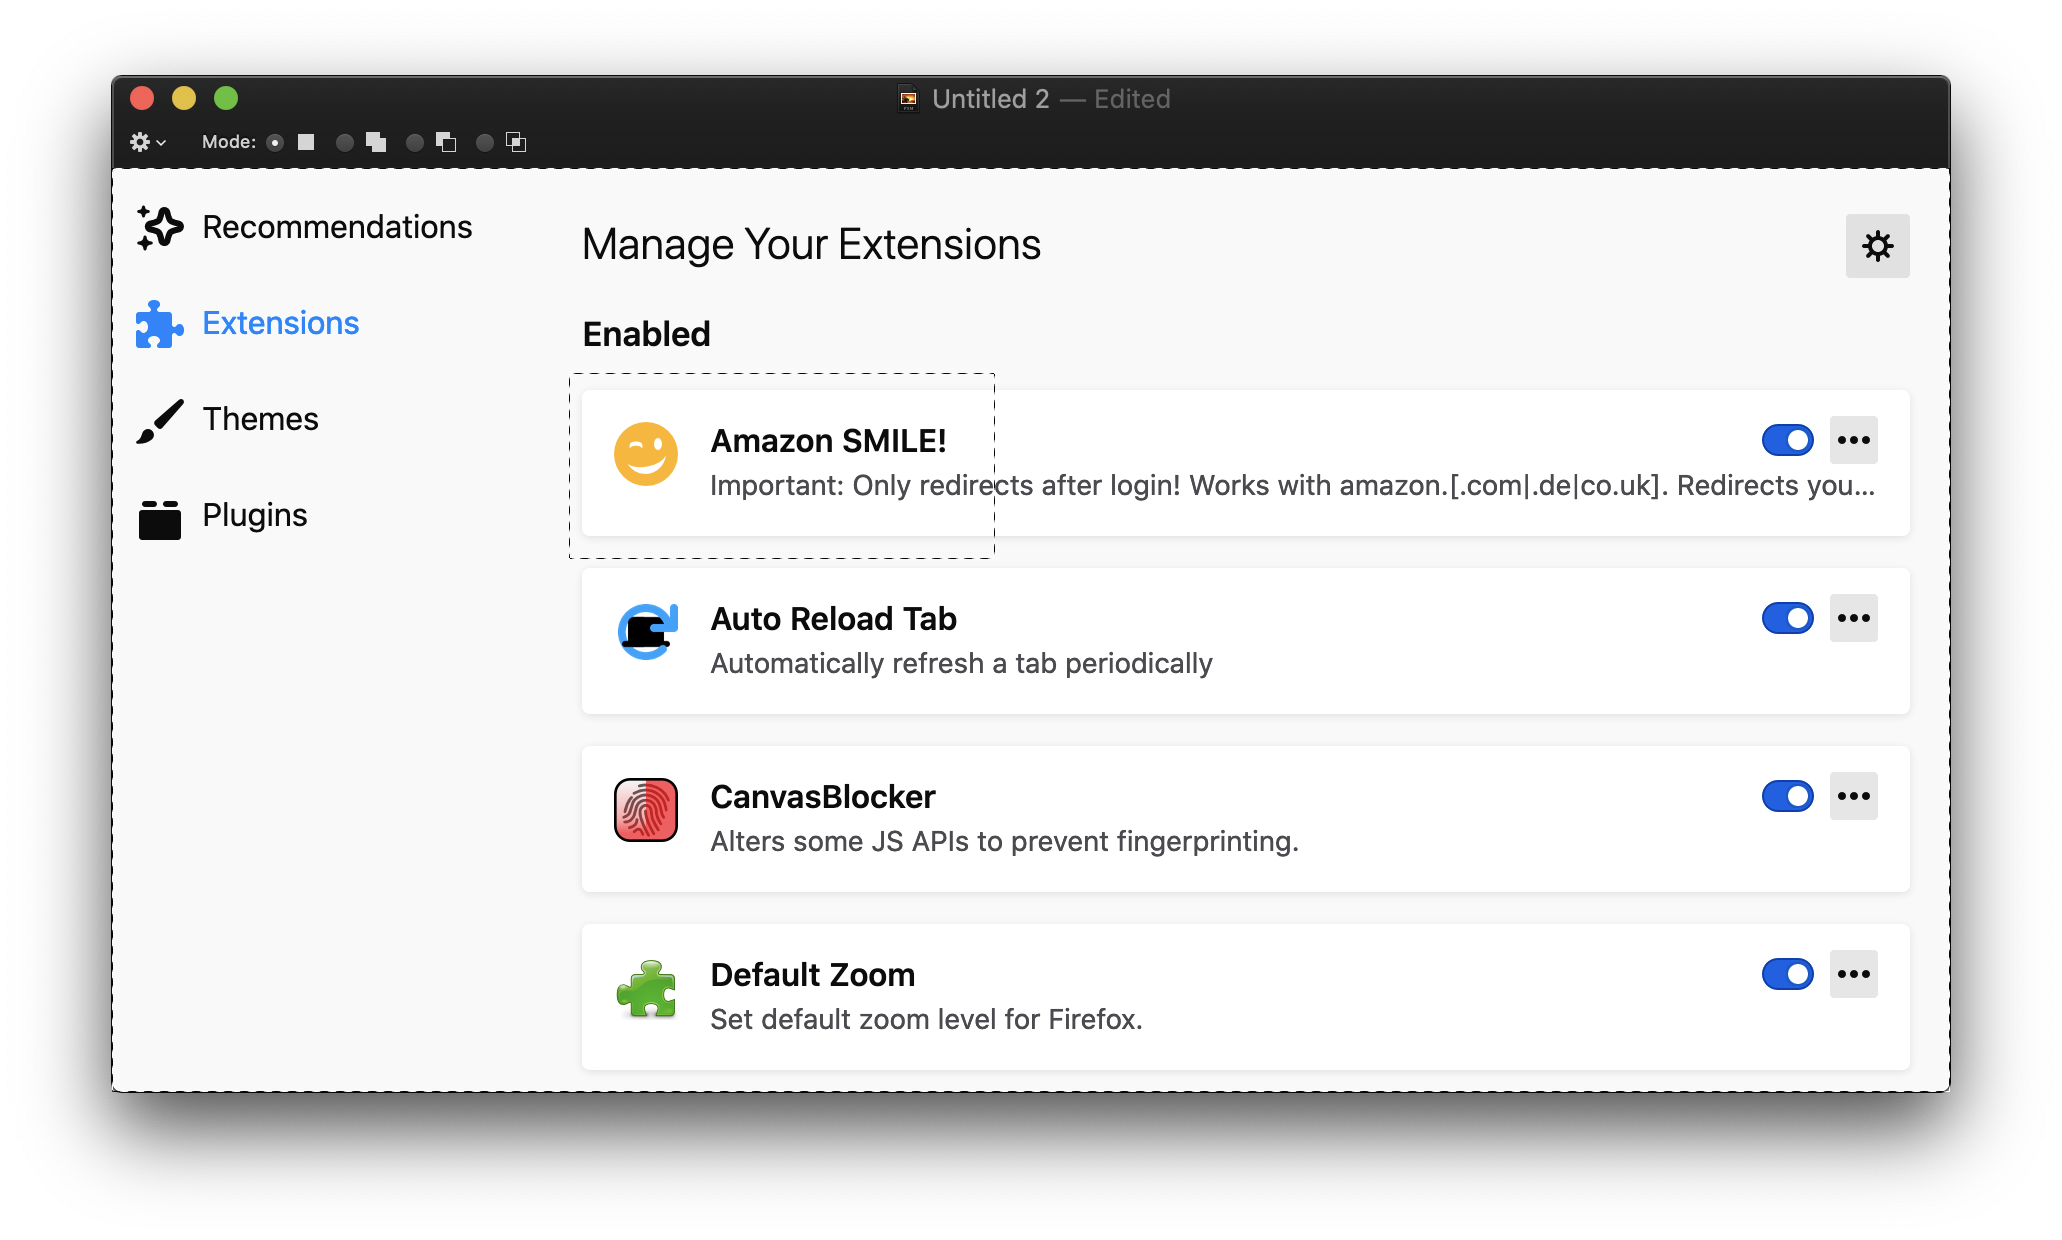
Shade Fill
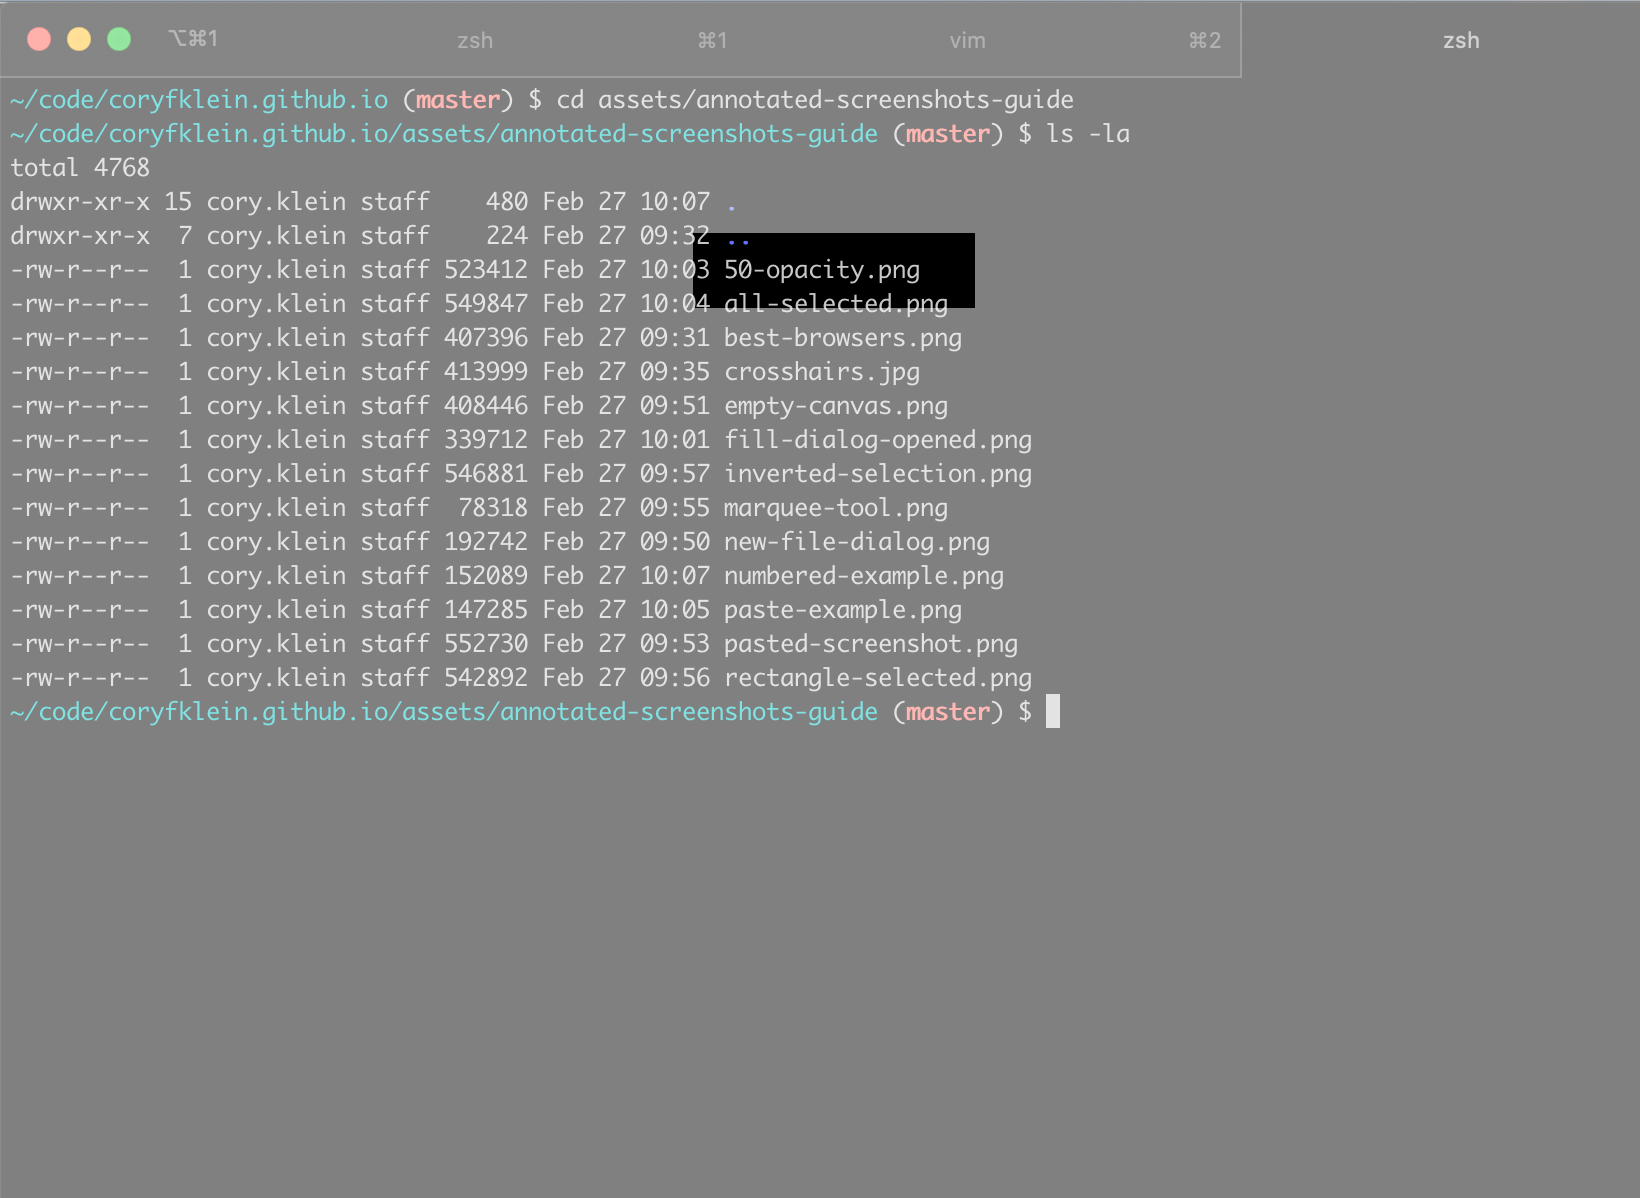
⌥⌘+F to open the Fill dialog. Type “50” for opacity (Pixelmator auto-focuses the input here, so no mouse movement required). Hit enter to apply.
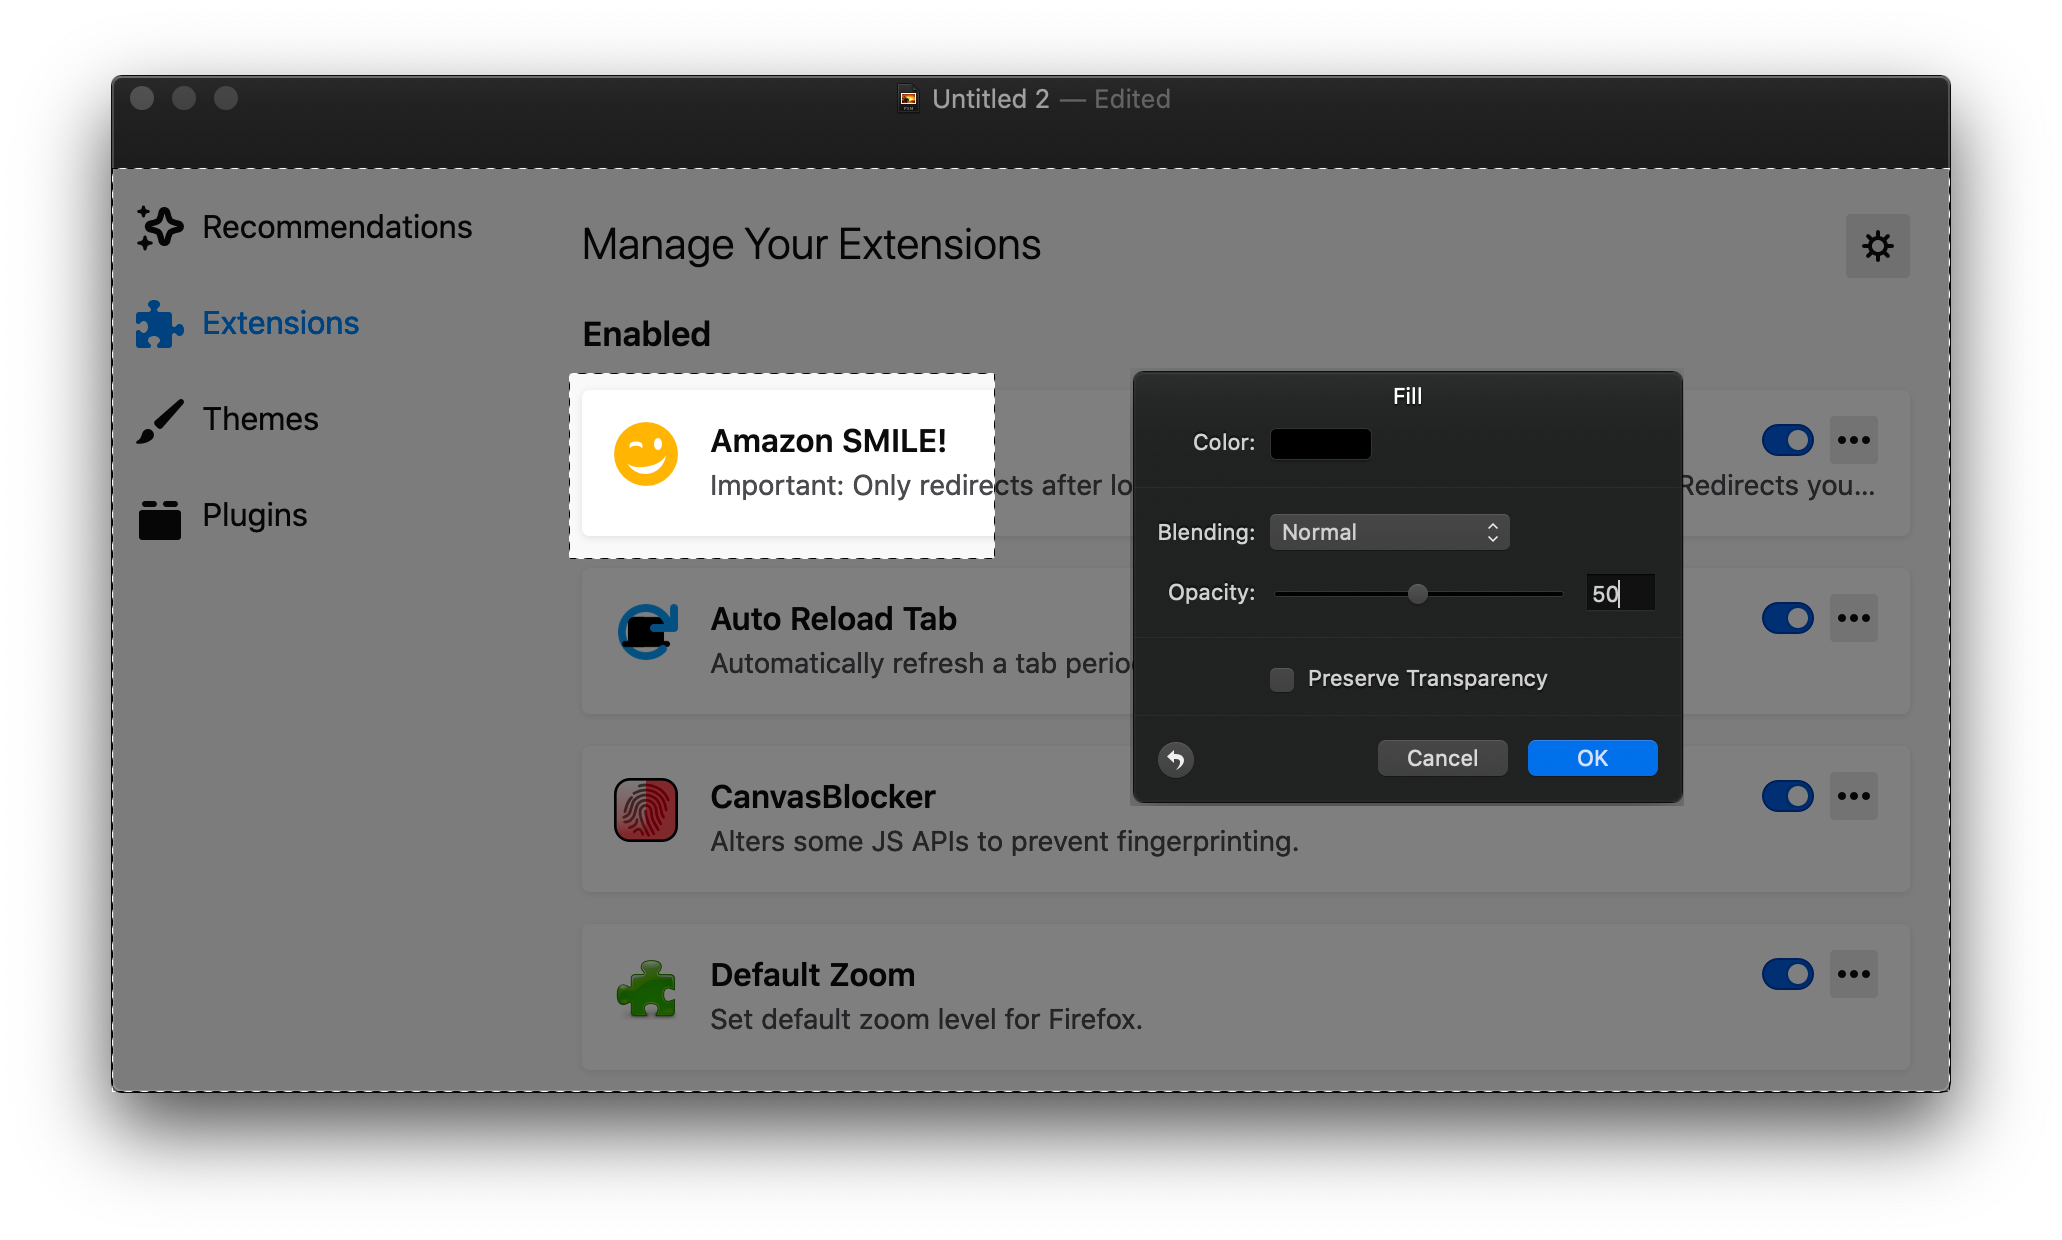
What color should you use? See extra tips at the bottom for details.
Share
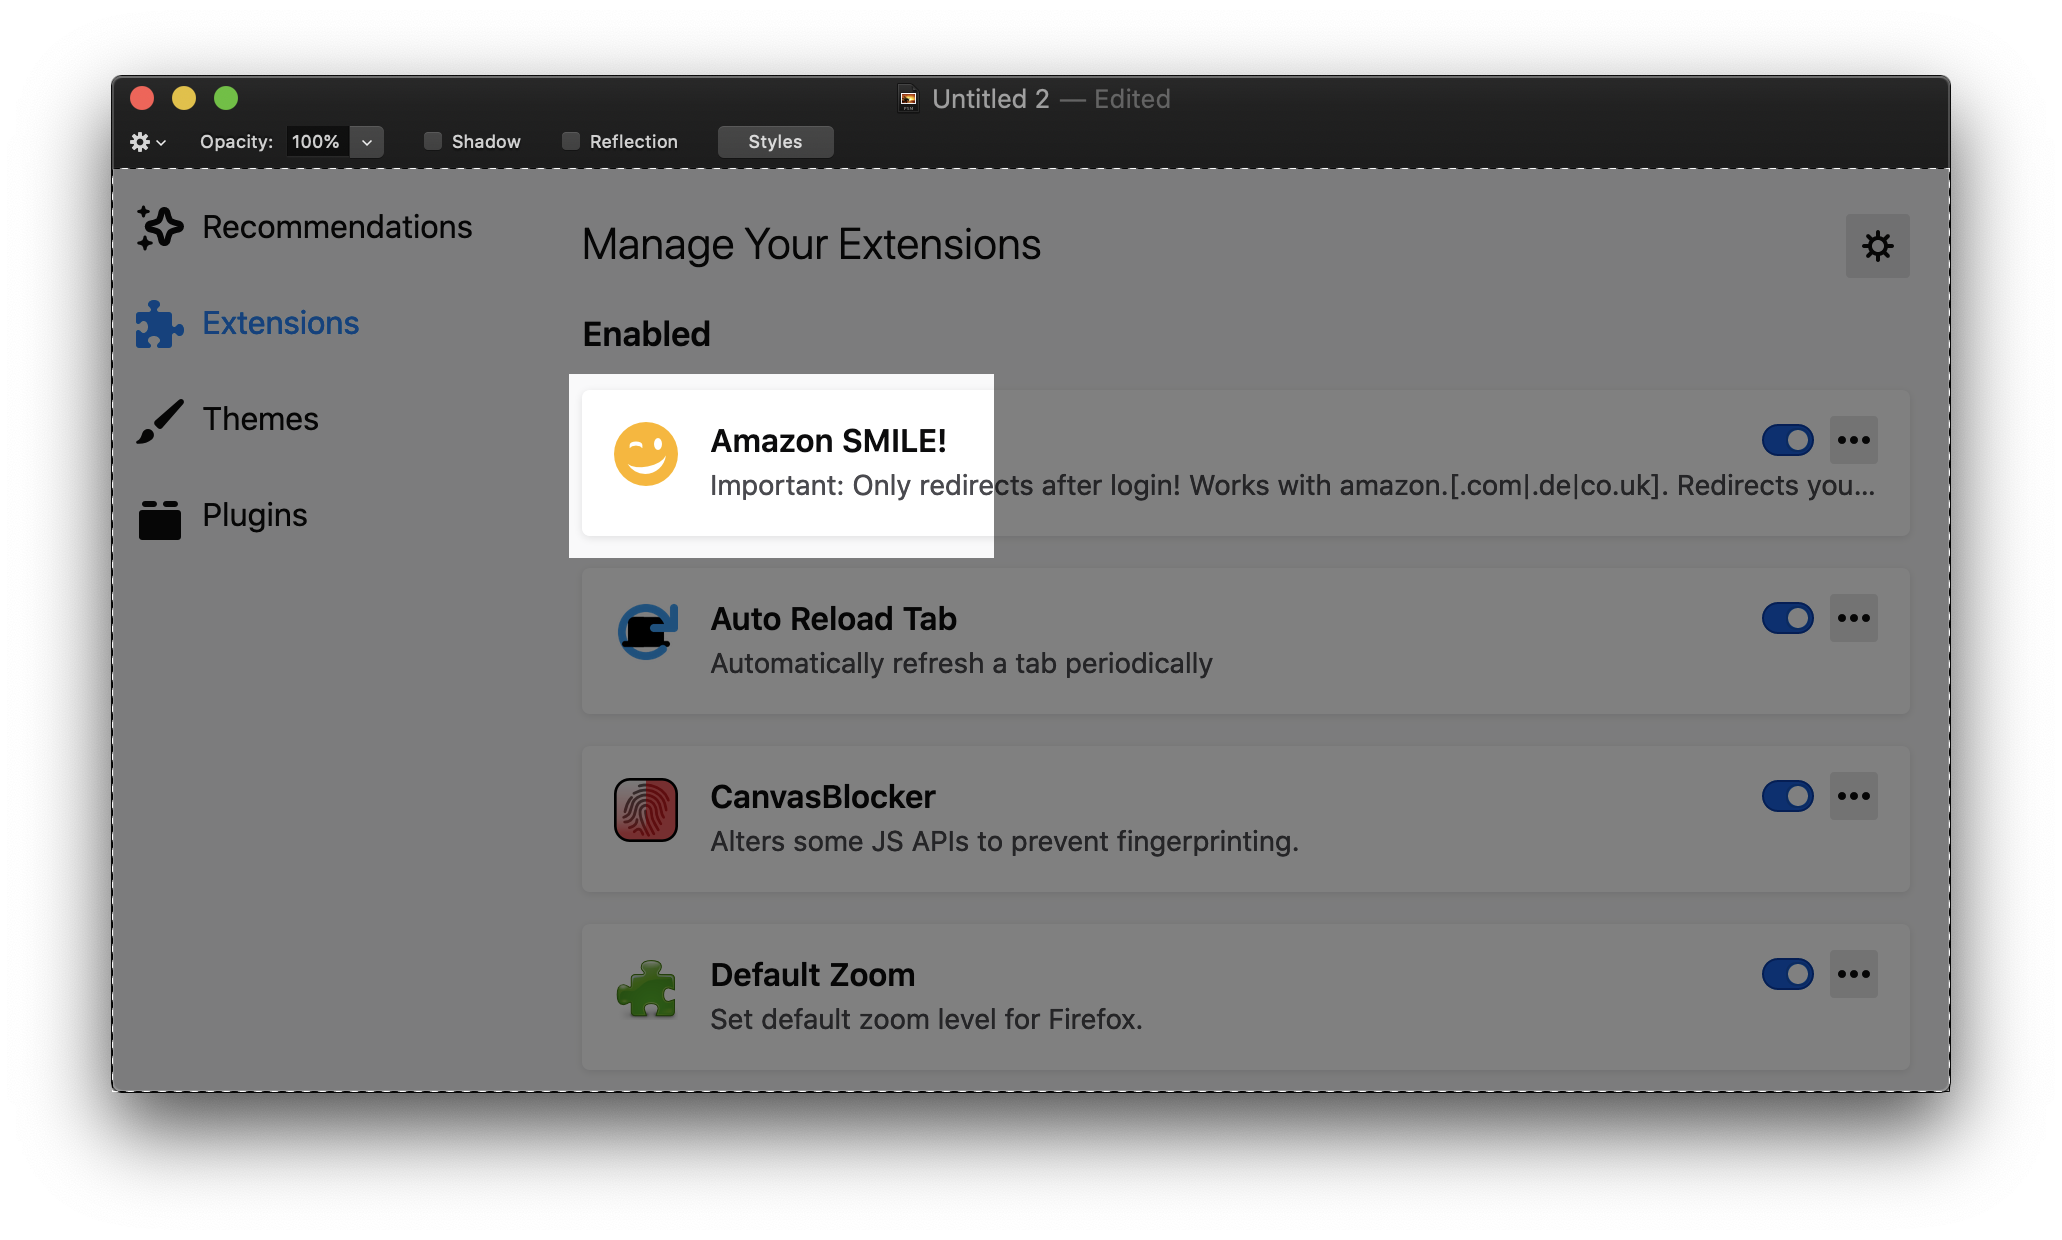
⌘+A (Select All), ⌘+C (Copy) to get your annotated image in the clipboard
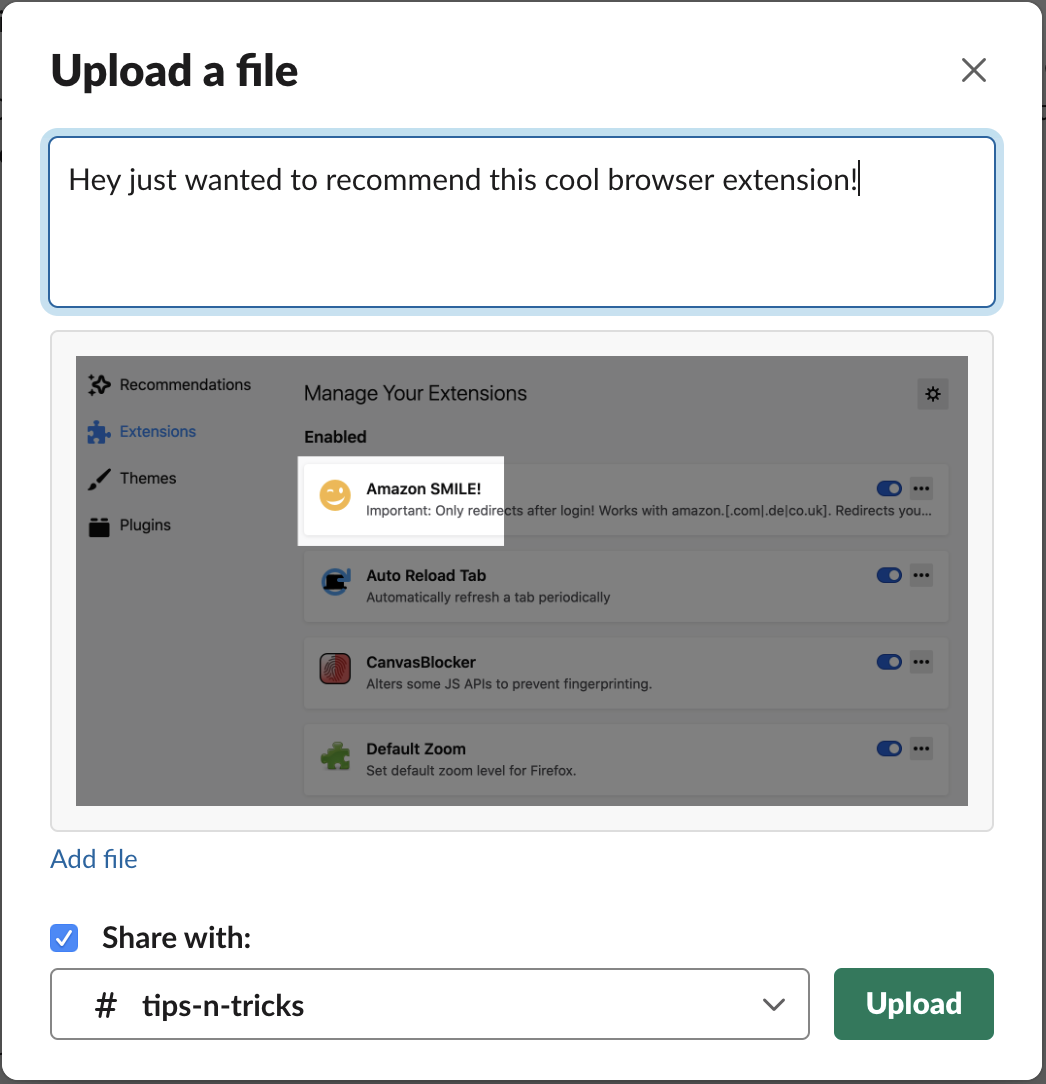
⌘+V to paste your image into wherever! Most modern applications now accept pasting images into typical text fields. Some common applications I use are Slack, StackOverflow, presentation slides, and wikis.
Extra Tips And Notes
I recommend always filling with black (#000000), except when the primary content is already black (like a terminal), then use pure white (#FFFFFF). You can play with opacity, but 50% is a solid choice that works well on most images. Adding hue or color to the shade is usually a bad idea; it distracts the user’s attention on the color itself rather than focusing it on the object you highlighted.
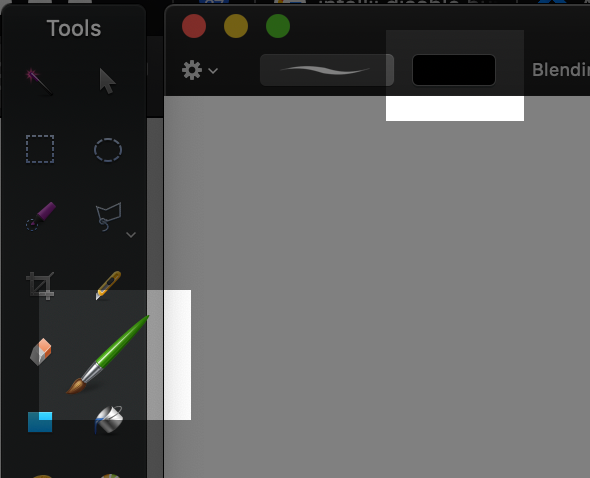
In Pixelmator you can set the default color to black by selecting the brush tool (B), changing the color to black, then quitting and re-opening Pixelmator
When making multiple rectangles, consider using text to add simple numbers adjacent to the selections if you want to indicate ordering.

Clipboard vs Files
The instructions I give here are geared towards utilizing the clipboard. I find this to be much faster and easier, particularly because screenshots are so short-lived. But you should be able to use files as your intermediary storage between steps with minimal changes to the procedure.